Thinking about upgrading your sink with a sleek wall fixture? When you install a wall-mounted faucet, you are not just changing the look of your bathroom or kitchen. You are moving plumbing connections inside the wall, where mistakes stay hidden until damage appears. That is why accuracy matters from the start. In this guide, you will learn how the installation works, what can go wrong, and how to safeguard your home from leaks and costly repairs.
How to Install a Wall-Mounted Faucet
To properly install a wall-mounted faucet, you must focus on what happens behind the finished wall, not just what shows above the sink. Unlike deck-mounted fixtures, this setup relies on precise rough-in depth, solid structural support, correct pipe alignment, watertight sealing, and pressure balance. Even small measurement errors can cause loose trim, uneven water flow, or hidden leaks. When the internal valve placement, mounting stability, sealing integrity, and final water testing are handled correctly, the faucet performs smoothly and protects your walls from long-term moisture damage.
1. Install the Rough-In Valve
The rough-in valve controls hot and cold water mixing. It sits inside the wall cavity, usually between two studs. Placement depth is critical. If it sits too deep, the trim will not sit flush. If it sits too far out, it may leak around the wall surface.
You must measure the finished wall thickness before installing the valve. Tile and backer board add depth. Manufacturers provide exact measurements for rough-in placement. Follow those specifications closely to avoid future adjustments.
2. Secure the Mounting Hardware
Mounting brackets support the faucet body. These brackets attach firmly to wall framing. Without solid anchoring, the faucet can shift when you turn the handles.
Use blocking between studs for added stability. This reinforcement prevents movement over time. Even slight movement can loosen connections and cause hidden leaks. Secure hardware ensures that plumbing connections stay aligned under daily use.
3. Attach the Faucet Body
After finishing the wall surface, attach the faucet trim and body components. Carefully thread connections to avoid cross-threading. Hand-tighten first, then secure with the proper tool.
Do not overtighten fittings. Excess force damages seals and threads. Proper alignment is key here. The spout must extend evenly over the sink to prevent splashing.
4. Seal Around Wall Penetrations
Any opening where plumbing passes through tile or drywall must be sealed. Use waterproof sealant around trim plates and pipe penetrations.
This barrier protects the wall cavity from moisture intrusion. Water that enters the wall can lead to mold growth and structural damage. According to the U.S. Environmental Protection Agency, moisture control is essential to prevent mold development in homes (source: https://www.epa.gov/mold). Even small leaks can create long-term problems.
5. Test Water Flow and Alignment
Before finishing the project, turn on the water supply slowly. Check for leaks inside the wall and around fittings. Observe water pressure and flow direction.
Let the faucet run for several minutes. Inspect all connections again. Proper testing ensures that the effort to install a wall-mounted faucet results in safe, stable operation.
Why a Professional Installation Is Recommended
Wall-mounted faucets connect directly to in-wall plumbing, which requires careful pipe alignment, secure bracing, proper sealing, and pressure testing. Plumbing a wall-mounted faucet involves aligning supply lines precisely, reinforcing mounting brackets within framing, connecting hot and cold lines correctly, and performing a full pressure test before final trim installation. These steps reduce the risk of hidden leaks, uneven mounting, and premature fixture failure.
How Professionals Plumb a Wall-Mounted Faucet
When experts handle plumbing a wall-mounted faucet, they follow strict installation standards and inspection procedures.
Align Water Supply Lines
Supply lines must meet the valve at exact angles. Misaligned pipes create tension on fittings. Over time, tension causes joint failure. Professionals measure pipe spacing carefully. They ensure hot and cold lines remain level and evenly spaced. Proper alignment prevents vibration and pressure imbalance.
Secure In-Wall Mounting Brackets
Licensed plumbers reinforce mounting brackets directly to framing. They often install horizontal blocking for added support. This added support prevents shifting behind the finished tile. Stability inside the wall protects both the faucet and internal plumbing joints.
Connect Hot and Cold Water Lines
Correct connection prevents temperature reversal. Professionals verify which pipe carries hot water and which carries cold. They use approved fittings and sealing methods that match pipe material. Whether copper, PEX, or CPVC, connection methods differ. Using the wrong fitting increases the risk of leaks.
Perform a Pressure Test Before Final Installation
Before sealing the wall completely, plumbers conduct a pressure test. This test confirms no leaks exist inside the wall.
Water lines are pressurized and monitored. If pressure drops, a leak is present. This early testing avoids costly wall demolition later. Proper plumbing of a wall-mounted faucet always includes this safety step.
Location Tips for Wall-Mounted Faucet Installation
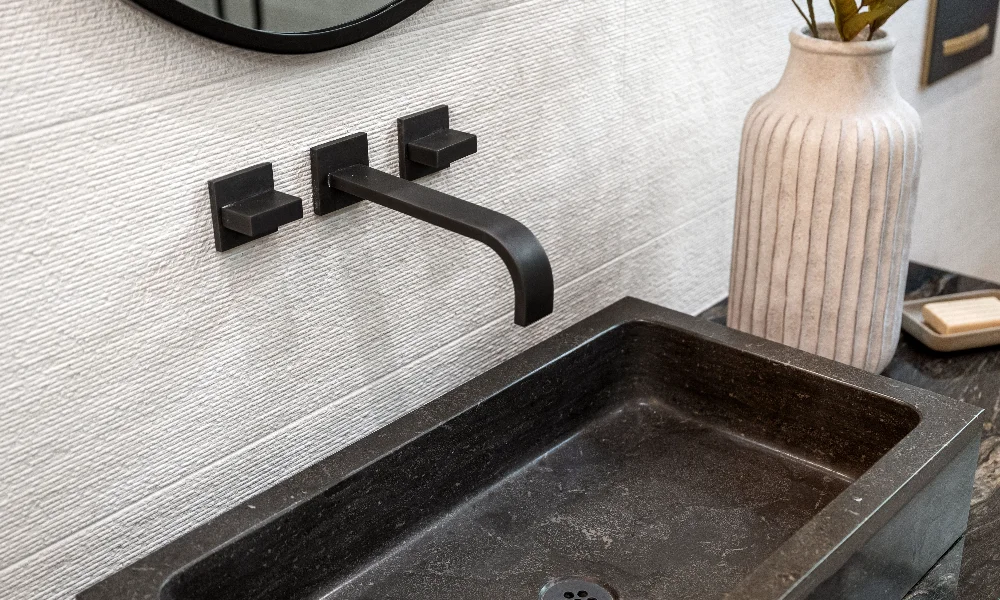
The position of a wall-mounted faucet affects more than appearance. It influences water control, comfort during use, and long-term plumbing stability. Because the fixture connects inside the wall, placement must support balanced pressure, proper drainage alignment, and structural security behind the surface. If positioning is misjudged, water may not flow where intended, finished walls can experience excess moisture, and internal fittings may face unnecessary stress. Careful planning ensures the faucet works smoothly while protecting both your plumbing system and surrounding surfaces.
Here are some tips to consider:
Position Over Sinks or Basins
The spout should align directly over the drain. Misalignment causes water to hit the basin wall instead of the center.
Standard height ranges from 3 to 6 inches above the sink rim. However, basin depth and style affect this measurement. Measure carefully before cutting into drywall.
Clearance From Backsplashes
If your sink includes a backsplash, ensure the faucet clears it fully. Limited clearance restricts handle movement. Check manufacturer specifications for handle swing radius. Sufficient space allows smooth operation and easier cleaning.
Avoid Obstructions Inside the Wall
Before cutting into drywall, inspect the wall cavity. Electrical wiring, studs, and vent pipes may block placement. Stud finders and inspection cameras help identify obstacles. Planning prevents structural damage and unsafe interference with other systems.
Match Faucet Reach to Sink Depth
Spout reach determines where water lands in the basin. A short spout may cause splashing. Measure from the wall to the drain center. Choose a faucet model that extends appropriately. Correct reach improves usability and prevents water damage.
FAQs
What Are the Most Common Faucet Installation Mistakes?
Incorrect rough-in depth is a frequent issue. Poor pipe alignment and insufficient bracket support also cause problems. Many DIY installers skip pressure testing, which increases leak risk. Inadequate sealing around wall openings can lead to hidden moisture damage.
How Do You Tighten a Wall-Mounted Faucet?
First, remove decorative trim to access mounting hardware. Tighten mounting screws evenly. Avoid excessive force, which can crack tile or strip threads. If movement continues, internal bracing may need reinforcement.
Can I Install a Faucet Myself?
You can attempt installation if you understand plumbing codes and wall construction. However, mistakes inside the wall are expensive to repair. If you suspect leaks or alignment issues, professional assistance is safer. If you notice damp drywall or signs of hidden moisture after installation, it is important to act quickly. Scheduling professional water leak detection and repair services from Rodeo Plumbing and Drain can help identify the source of the problem before it causes structural damage. Early detection protects your walls, insulation, and framing from long-term deterioration.
Schedule Plumbing Fixture Installation With Rodeo Plumbing and Drain in Chandler, AZ
Installing a wall faucet requires precision inside the wall, not just at the surface. You learned how rough-in placement affects trim alignment, how secure mounting prevents shifting, why sealing protects against moisture, and why pressure testing ensures safety. Proper plumbing of a wall-mounted faucet reduces long-term leak risks and structural damage.
If you want peace of mind while installing a wall-mounted faucet, professional service makes a difference. Rodeo Plumbing and Drain in Chandler, AZ, provides reliable fixture installation backed by technical expertise and proper testing procedures. Contact our team to ensure your wall-mounted faucet operates safely, aligns correctly, and remains leak-free for years.


