If you think your plumbing might have a hidden leak, you cannot afford to ignore it. Even a small issue can waste water, raise your bills, and damage your home over time. This is where water line pressure testing becomes important. It helps you check if your pipes are holding pressure or slowly failing. In this guide, you will learn how the process works, what methods are used, what signs to watch for, and when it is safer to call a professional.
Types of Pressure Testing for Water Lines
Different testing methods help detect leaks based on the system type and condition. Some use water for accuracy, while others use air for flexibility. Each approach helps confirm whether pipes can maintain stable pressure over time. Choosing the right method depends on pipe material, installation stage, and accessibility. Understanding these methods helps you avoid incorrect testing and unreliable results.
Hydrostatic Pressure Test
This method uses water to pressurize the system, which makes it one of the most reliable options in the plumbing industry. Since water does not compress, even small pressure changes are easier to detect. Technicians fill the line completely, remove trapped air, and raise pressure to a specified test level based on pipe material and local codes. If the gauge shows any drop, it usually confirms a leak, loose joint, or weak connection that needs attention.
Pneumatic Test
This test uses compressed air, which is helpful when water cannot be introduced into the system, such as in freezing conditions or unfinished installations. However, air is compressible, so pressure readings can fluctuate slightly, which makes small leaks harder to identify. Because stored air energy can be dangerous, professionals follow strict safety standards, including controlled pressurization and secure fittings, to prevent sudden pipe failure or injury.
Leak-Down Pressure Test
This method focuses on observing pressure stability over time rather than just initial readings. After pressurizing the system, technicians monitor the gauge for a set duration, often 15 to 60 minutes, depending on the system size. A slow and steady pressure drop usually indicates minor leaks, hairline cracks, or worn seals. This approach is especially useful in older plumbing systems where leaks develop gradually and are not immediately visible.
Segment Pressure Testing
Instead of testing the entire water line at once, this method isolates specific sections using valves or caps. Each section is tested individually, which helps narrow down the exact location of a leak. This is especially useful for large properties or underground piping systems where finding the problem area can be difficult. By identifying the affected segment, repairs become faster, more accurate, and less invasive.
How to Pressure Test a Water Line
To perform water line pressure testing, you need a clear process and proper tools. The goal is to create controlled pressure and observe whether it holds steady. Each step plays a role in ensuring accurate results, from shutting off water to checking for pressure drops. Missing any step can lead to incorrect conclusions or missed leaks.
Before diving deeper, here is how the process works in simple terms: you isolate the system, apply pressure, monitor it, and check for changes. This is how professionals confirm pipe integrity.
1. Shut Off the Main Water Supply
Start by closing the main water valve completely to isolate your plumbing system. This step is critical because even a small flow of incoming water can affect pressure readings. In professional practice, technicians also confirm that all fixtures are off and the system is fully depressurized before testing. This ensures the readings reflect only the condition of the pipes, not external supply pressure.
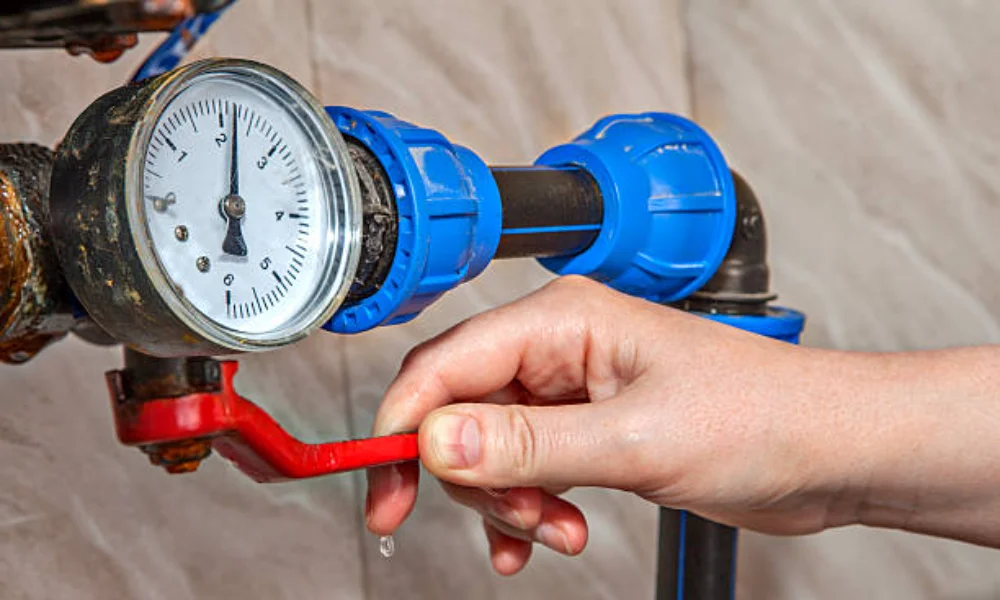
2. Attach a Pressure Testing Gauge
Connect a calibrated pressure gauge to a reliable access point, such as a hose bib or test port. A high-quality gauge provides accurate and consistent readings, which are essential for proper diagnosis. Professionals often check the gauge for accuracy before use, since faulty equipment can lead to incorrect conclusions about the system’s condition.
3. Pressurize the Line With Water or Air
Introduce water or air into the system using controlled pressure equipment. The pressure level should follow manufacturer guidelines and local plumbing codes based on pipe material and system design. Over-pressurizing can damage pipes, especially in older systems, so maintaining safe limits is a key part of professional testing standards.
4. Monitor Pressure Levels Over Time
Once the desired pressure is reached, observe the gauge over a defined period, often 15 to 30 minutes or longer for larger systems. Stable pressure indicates the system is holding properly. However, even slight fluctuations can signal underlying issues, which is why professionals monitor readings carefully and may extend the test duration for confirmation.
5. Check for Pressure Drops That Indicate Leaks
A noticeable drop in pressure usually points to a leak, weak joint, or faulty valve within the system. At this stage, experienced technicians begin isolating sections or using leak detection tools to locate the issue precisely. This step is important because identifying the exact source prevents unnecessary repairs and reduces overall costs.
When Professional Pressure Testing Is Recommended
While basic pressure testing of water lines can be done carefully, some situations require expert help. For example, underground leaks, older pipes, or complex systems need specialized tools. Professionals use advanced leak detection methods, which reduce guesswork and prevent damage.
If you already suspect a serious issue, such as a hidden leak, reviewing this guide on The main water line to the house is leaking, which can help you understand the risks before testing.
Signs a Water Line May Need Pressure Testing
Water lines often show warning signs before failure. These signs may seem minor at first, but they often point to deeper issues. Paying attention early can help you avoid costly repairs. Pressure testing becomes necessary when these symptoms appear repeatedly or worsen over time.
Unexplained Drops in Water Pressure
If you notice a sudden or gradual drop in water pressure, it often points to a hidden issue within the line. In many cases, leaks reduce the volume of water reaching fixtures, which affects flow consistency. However, pressure loss can also result from pipe corrosion or partial blockages, so proper testing helps confirm whether a leak is the actual cause.
Water Leaks Around Pipes or Fixtures
Visible leaks around joints, valves, or fixtures usually indicate that the system is no longer sealed properly. Even a slow drip can signal worn seals, loose connections, or internal pipe damage. In professional inspections, these surface leaks are often early indicators of deeper problems within the plumbing network that may require pressure testing to assess fully.
Higher-Than-Normal Water Bills
An unexpected increase in your water bill is a strong sign that water may be escaping somewhere in the system. Hidden leaks, especially in underground lines, can waste large amounts of water without obvious signs. This is why consistent billing changes should never be ignored and should be investigated with proper testing.
Damp Spots in Walls, Floors, or Yard
Moist or discolored areas on walls, floors, or outdoor surfaces often point to concealed leaks. Water can travel along pipes and settle in unexpected areas, which makes the source harder to identify without testing. Over time, this moisture can weaken structural materials and create conditions for mold growth, which adds both repair and health concerns.
FAQs
What Is Pressure Testing?
Pressure testing checks whether a water line can hold a set pressure level without dropping. It helps detect leaks, weak joints, or damaged pipes before they cause major problems.
Can Pressure Testing Damage Pipes?
If done incorrectly, it can stress weak pipes. However, when performed within safe pressure limits, it is a standard and safe diagnostic method.
Can I Check Water Pressure Without A Gauge?
You can notice pressure changes through flow, but it is not accurate. A gauge provides precise readings, which are necessary for proper testing.
What Is The Standard Pressure For A Water Line?
Most residential systems operate between 40 and 60 PSI. Testing pressure may be slightly higher, but should always stay within safe limits for the pipe material.
Contact Rodeo Plumbing and Drain for Water Line Repairs and Replacements Across the Southwestern US
Water line pressure testing is an important step in identifying leaks, weak joints, and hidden plumbing issues before they turn into costly damage. Once a problem is confirmed, acting quickly helps prevent water loss, structural damage, and rising utility bills.
At Rodeo Plumbing and Drain, trained technicians handle everything from precise leak detection to complete water line repairs and replacements. We use professional-grade equipment and proven methods to deliver accurate results and durable solutions. Whether the issue is small or more complex, expert support ensures your plumbing system stays safe and reliable.
If you have noticed pressure drops, unusual moisture, or rising water bills, do not delay inspection. Contact Rodeo Plumbing and Drain today to get your system tested, diagnosed, and repaired before the problem worsens.